My long journey with the Tamiya Frog
In 1987 I bought a second-hand Tamiya Frog from a friend of a friend. It kicked off a teenage hobby in building a better mousetrap.
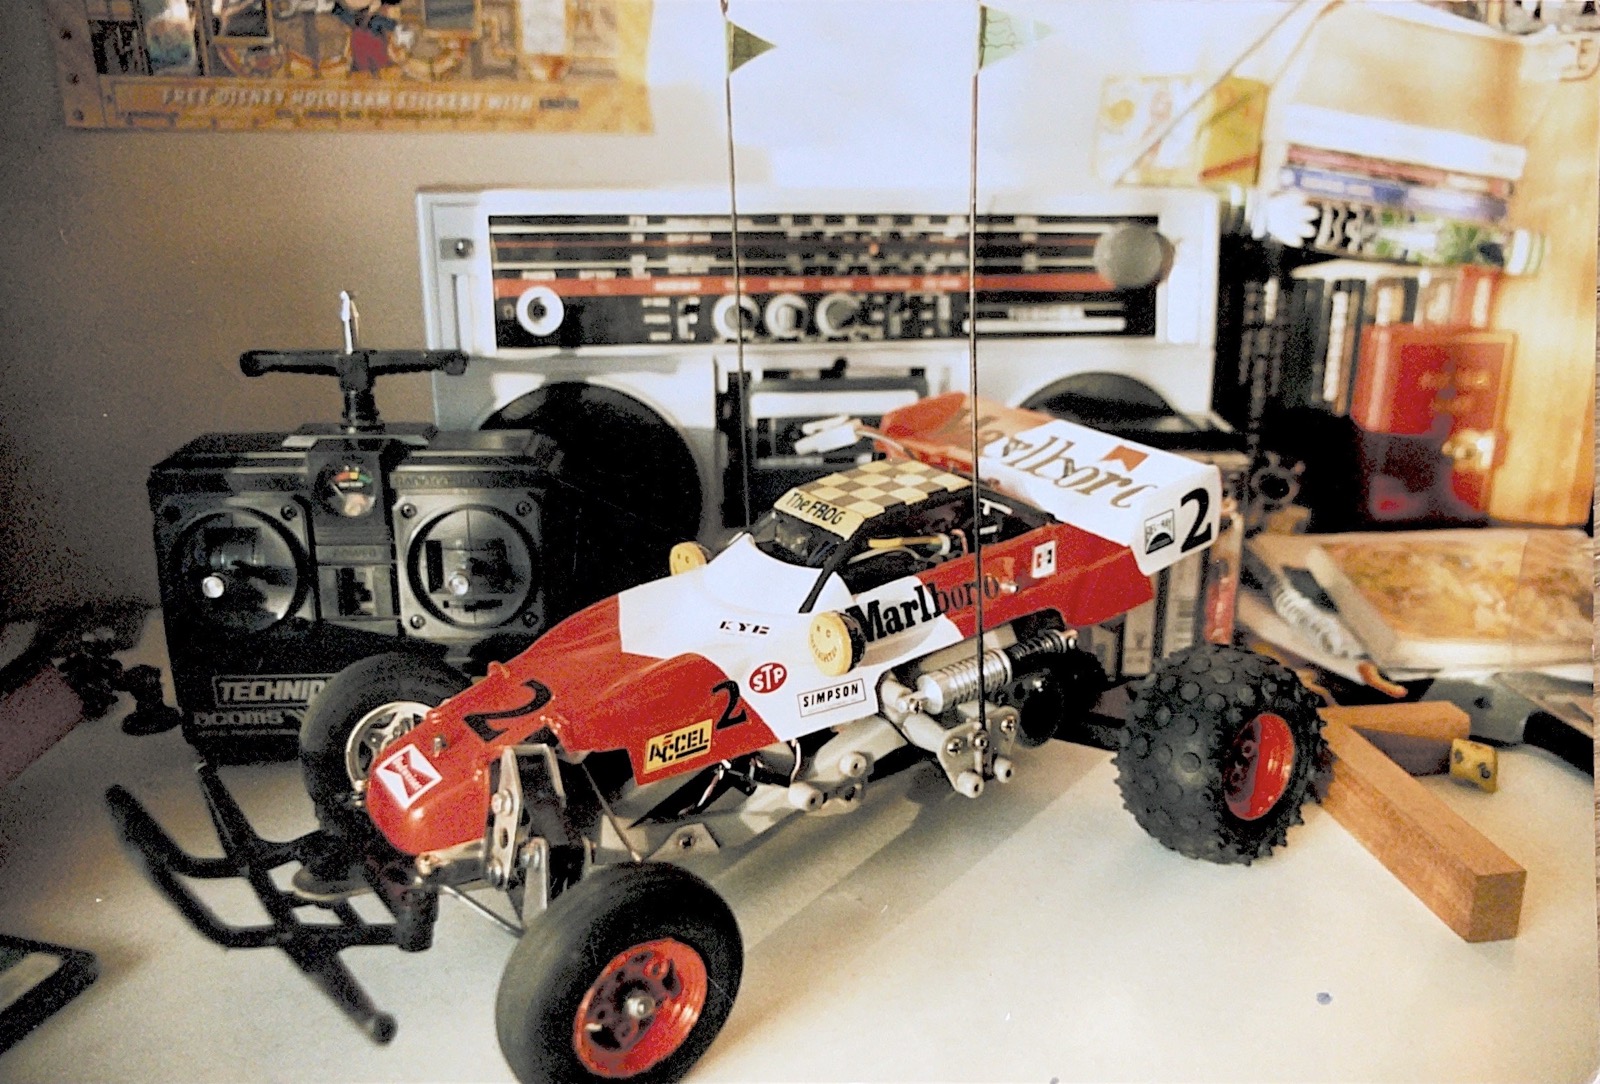
1. Marlboro man #
Second hand meant badly built, badly painted and with worn tires. I didn't care - it was something completely different for a kid like me and I quickly painted over the outside of the shell (mmmm, brushstrokes), hand painted some Formula 1 inspired logotypes and left pretty much everything else as stock. I started to get the bug.
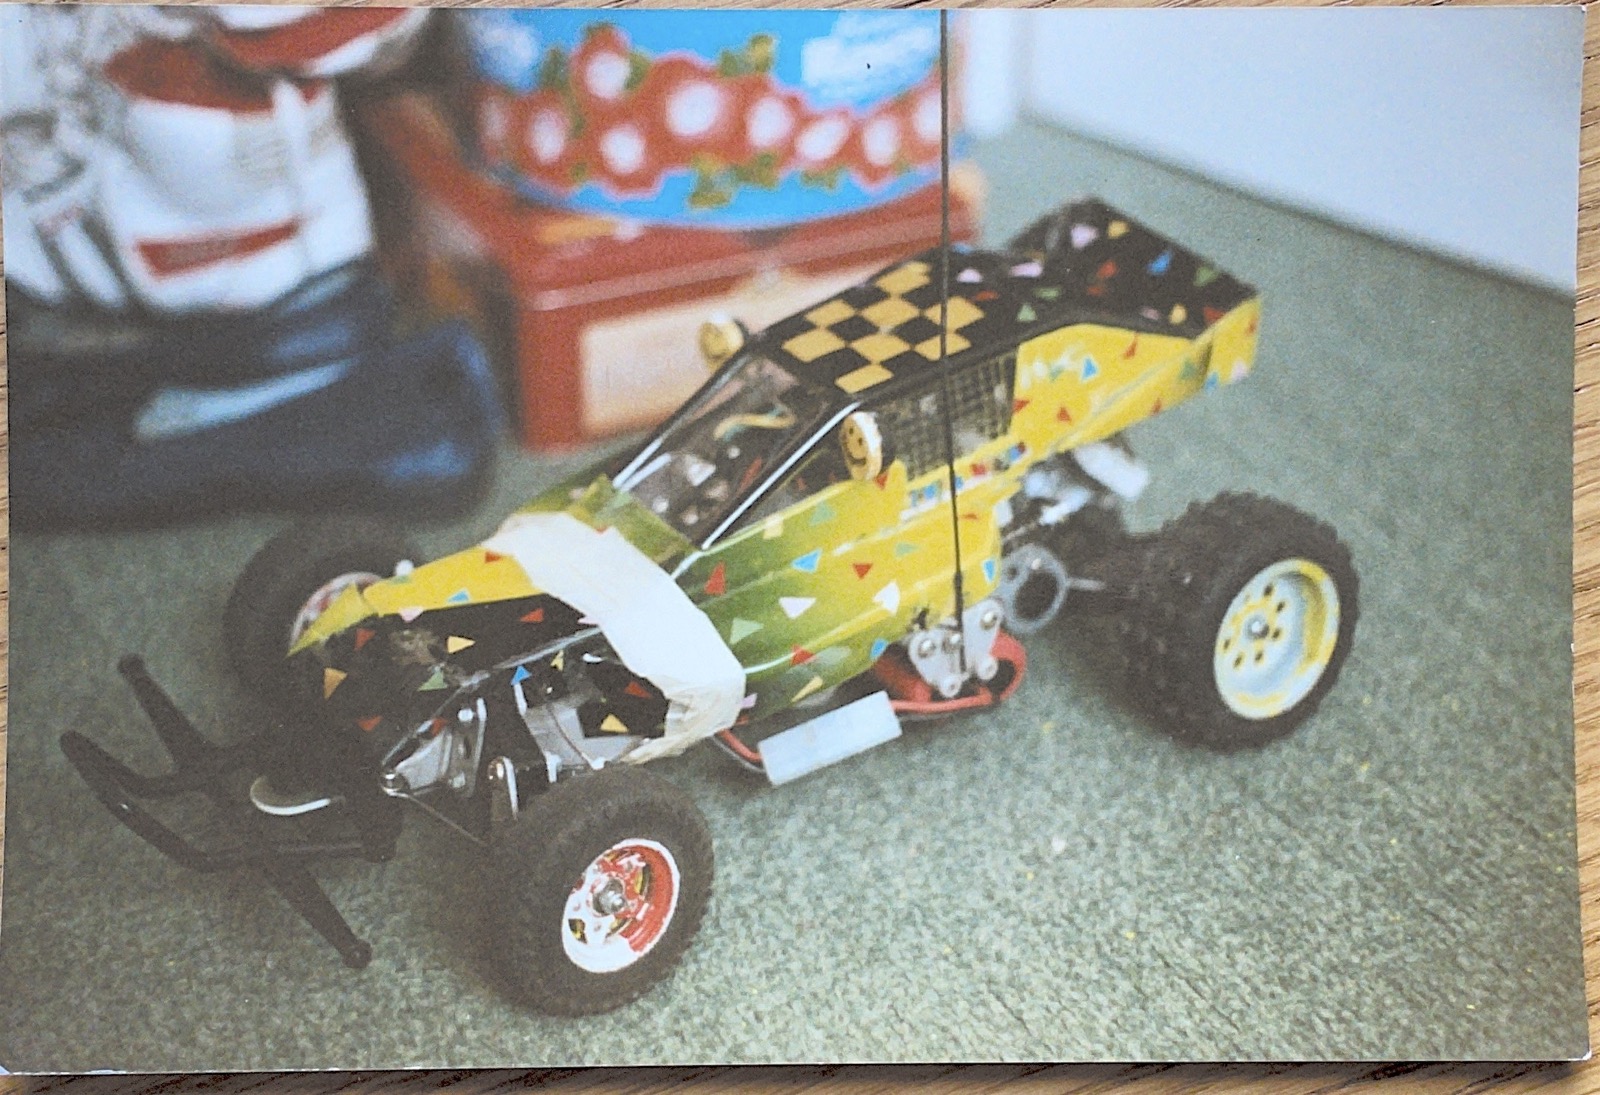
2. Chenworth disaster #
But that junky painted shell wasn't very satisfying, and a new Tamiya body cost more than a kid was willing to pay, so I ordered a much cheaper third-party Chenworth body for an RC10 - only to find that it would never fit a Frog, and so after some poor attempts and making a purse out of a sows ear, it ended up being held on by masking tape. The only changes at this stage was swapping the rear balloon Frog wheels for some Hotshot knock-offs, and buying an SCR battery to replace the weird tamiya humpback pack.
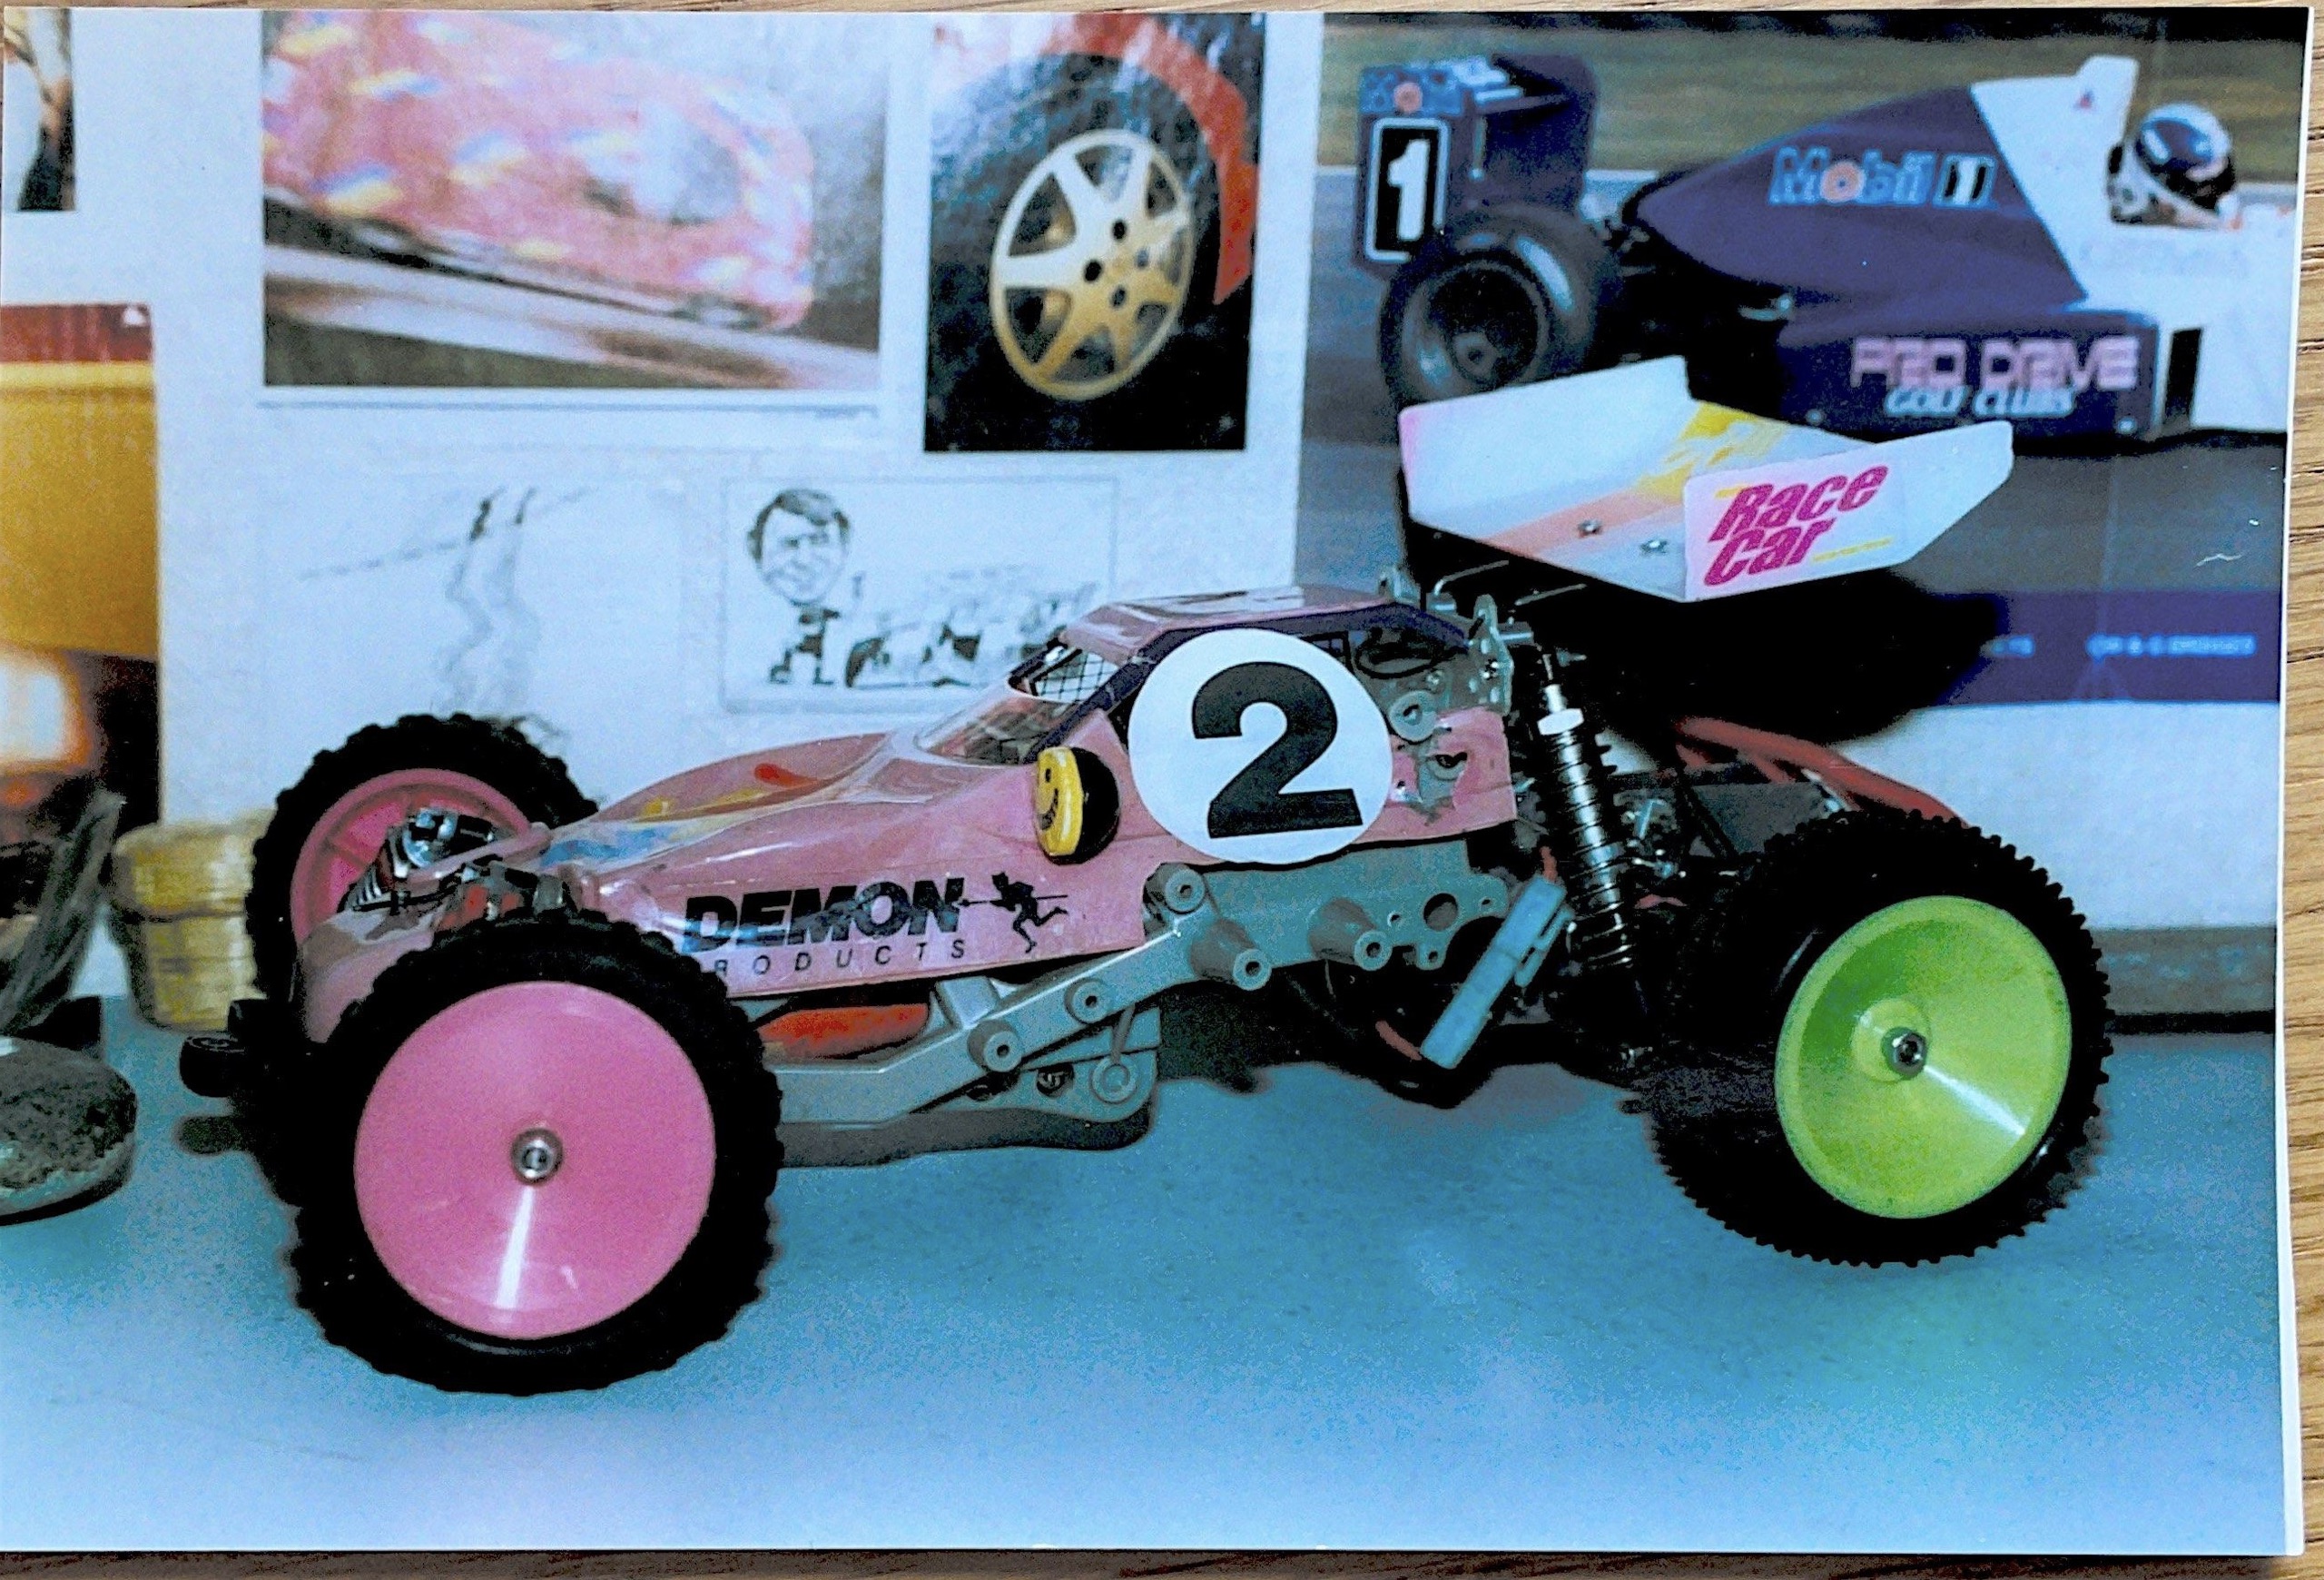
3. Second chance #
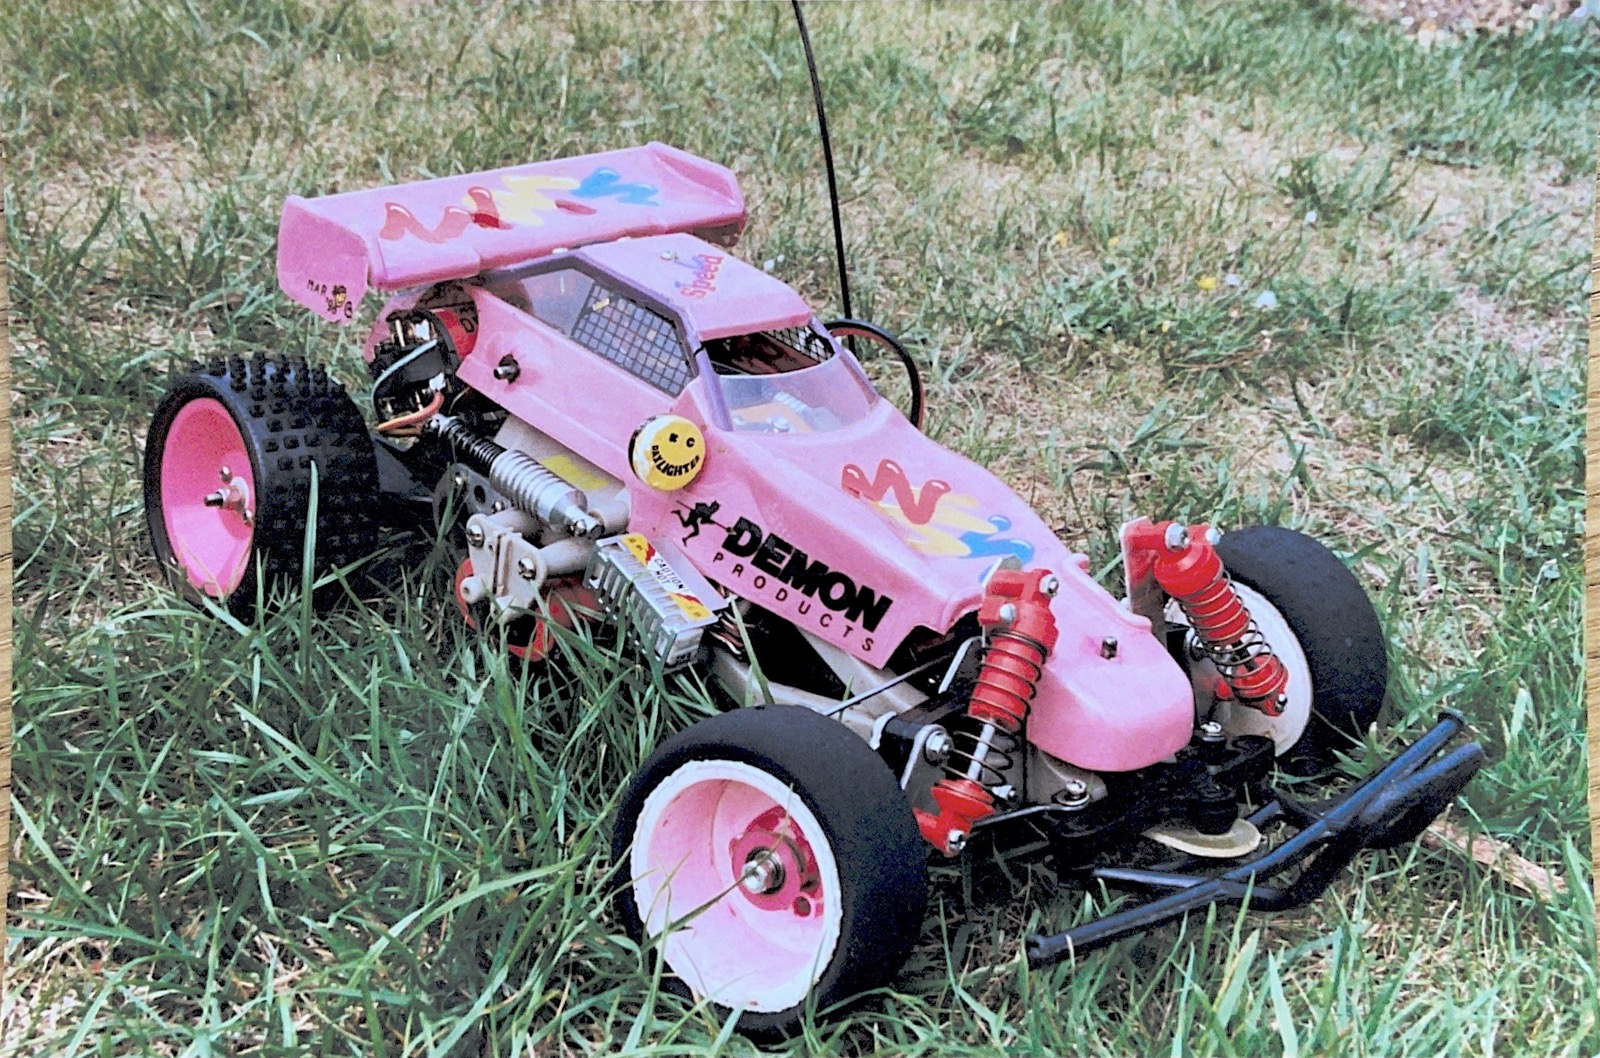
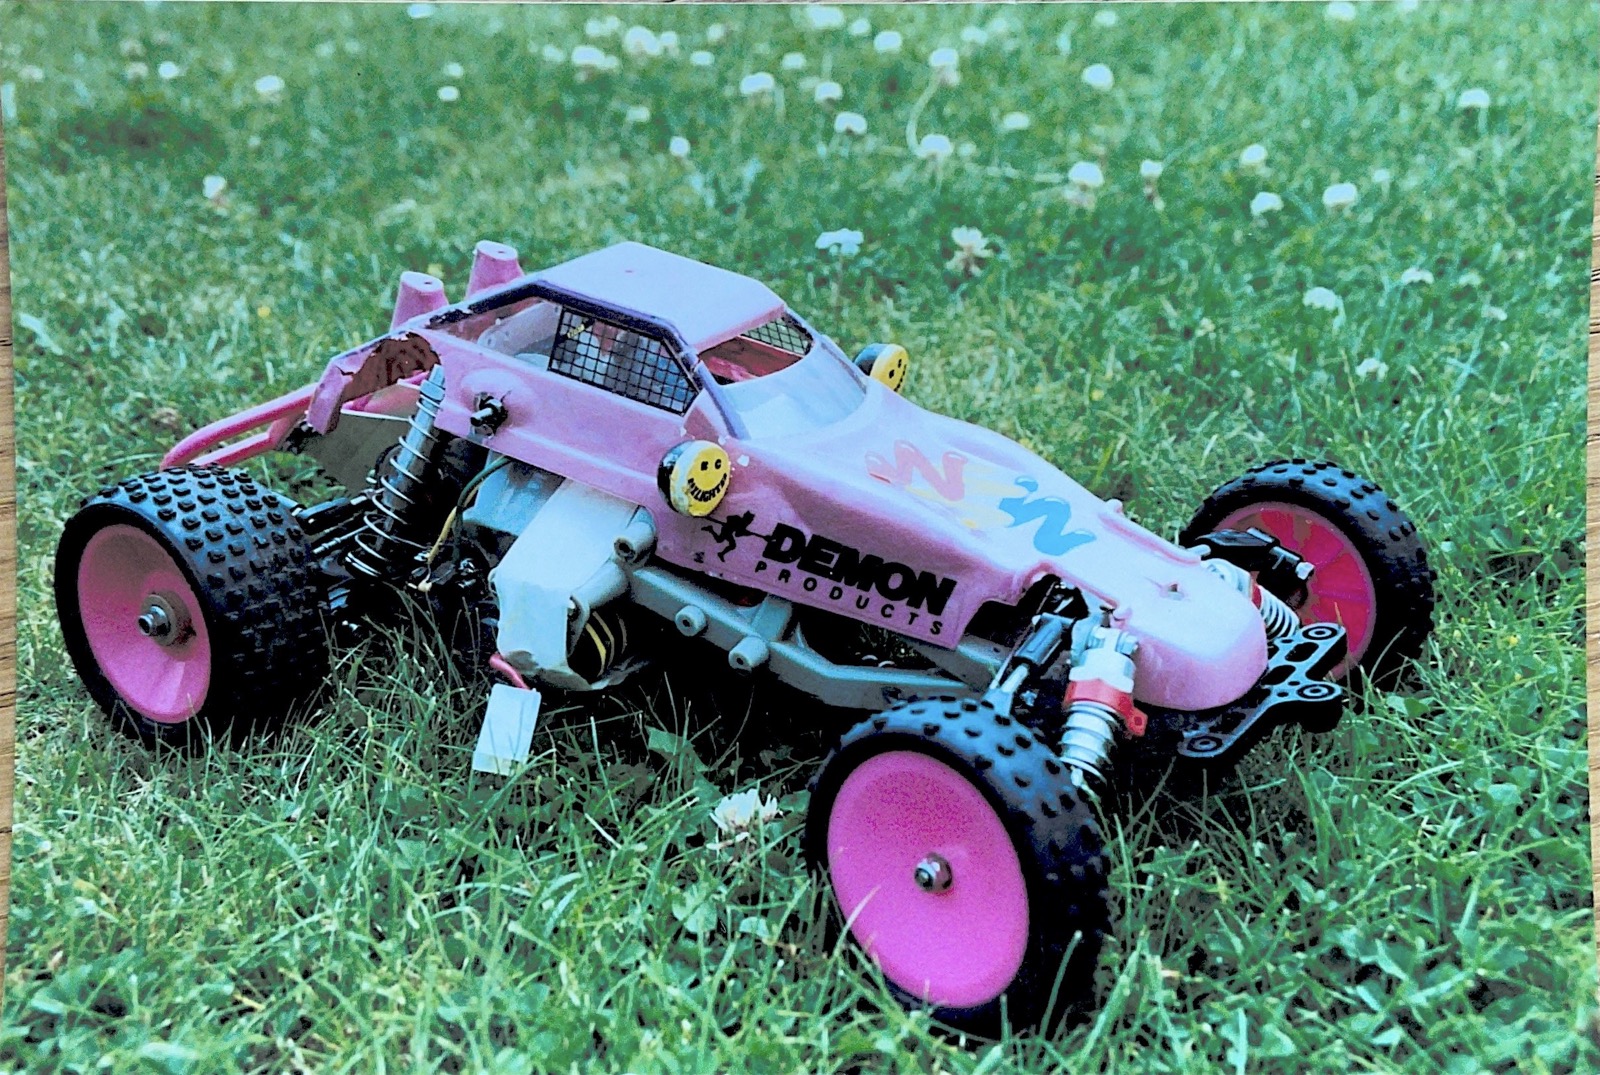
So, still pretty stock (mechanical speed control and all), it was time to bite the bullet and buy a proper Tamiya Frog shell. It was the nineties and for some reason an electric pink body was my choice of paintjob (a bad one - it fades in a really nasty way). But even though it was still a mechanical speed control, it was getting some upgrades - a better heatsink, a Demon 27T motor. And eventually it received some weird ones - Yokomo rear rims, reverse rim Tamiya Bigwig wheels on the front, and replacing the standard Frong front suspension springs with plastic Mardave Meteor (cheap!) damped shocks, mounted on home-fabricated aluminium towers (another bad idea - aluminium bends. A lot).

4. Gearbox hyjinx #
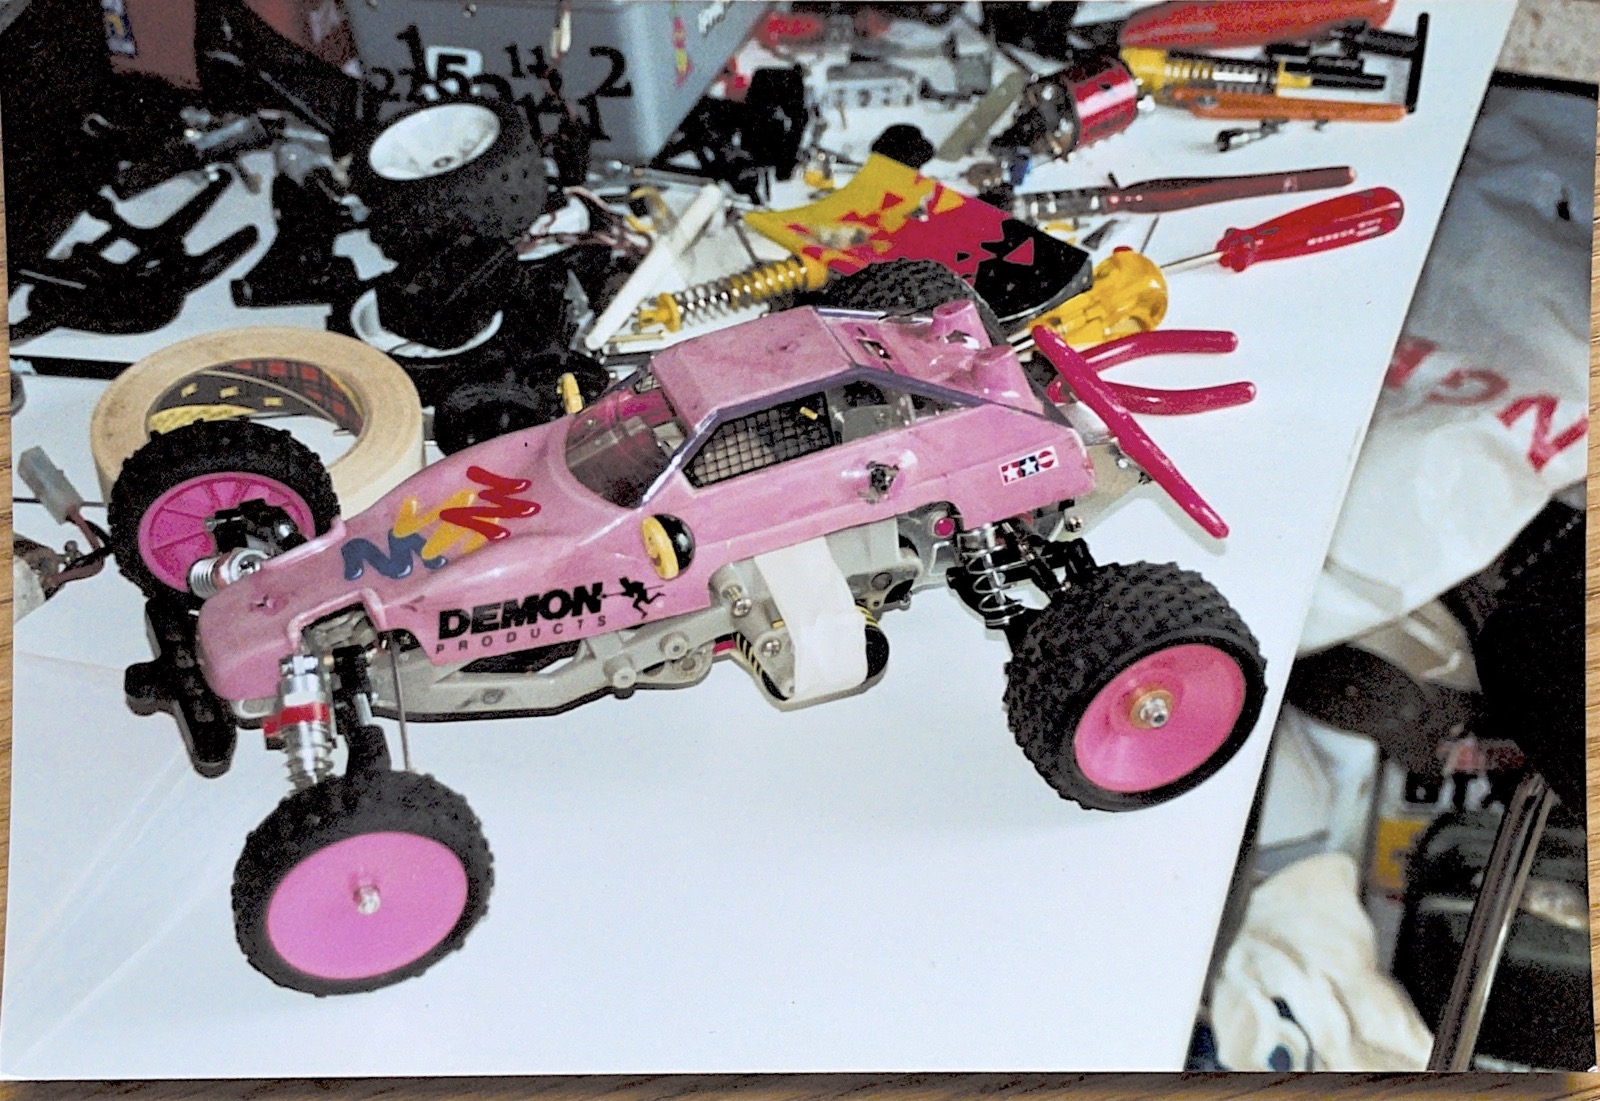
It was about this time I realised I could go much further. The experimentation became more serious, and it was time to fix the biggest problem inherent with the Frog - the high centre of gravity. One day it occured to me that the gearbox could be flipped upside-down and because the side plates were mirrored, the motor could still be mounted with the correct rotation - but it would now be down near the ground. It was a breakthrough - and I just needed to figure out how to mount suspension on chassis mounts where there were none. In the end an Astute/Madcap rear wishbone suspension was added (with Schumacher shocks), hanging off fibreglass plates mounted to the gearbox. The front suspension was also a frankenstein of Tamiya/Schumacher bits, also hanging off fibreglass towers screwed into the plastic chassis. But it didn't quite seem like a good package yet, even if a Nosram electronic speed control had made an appearance (finally!).
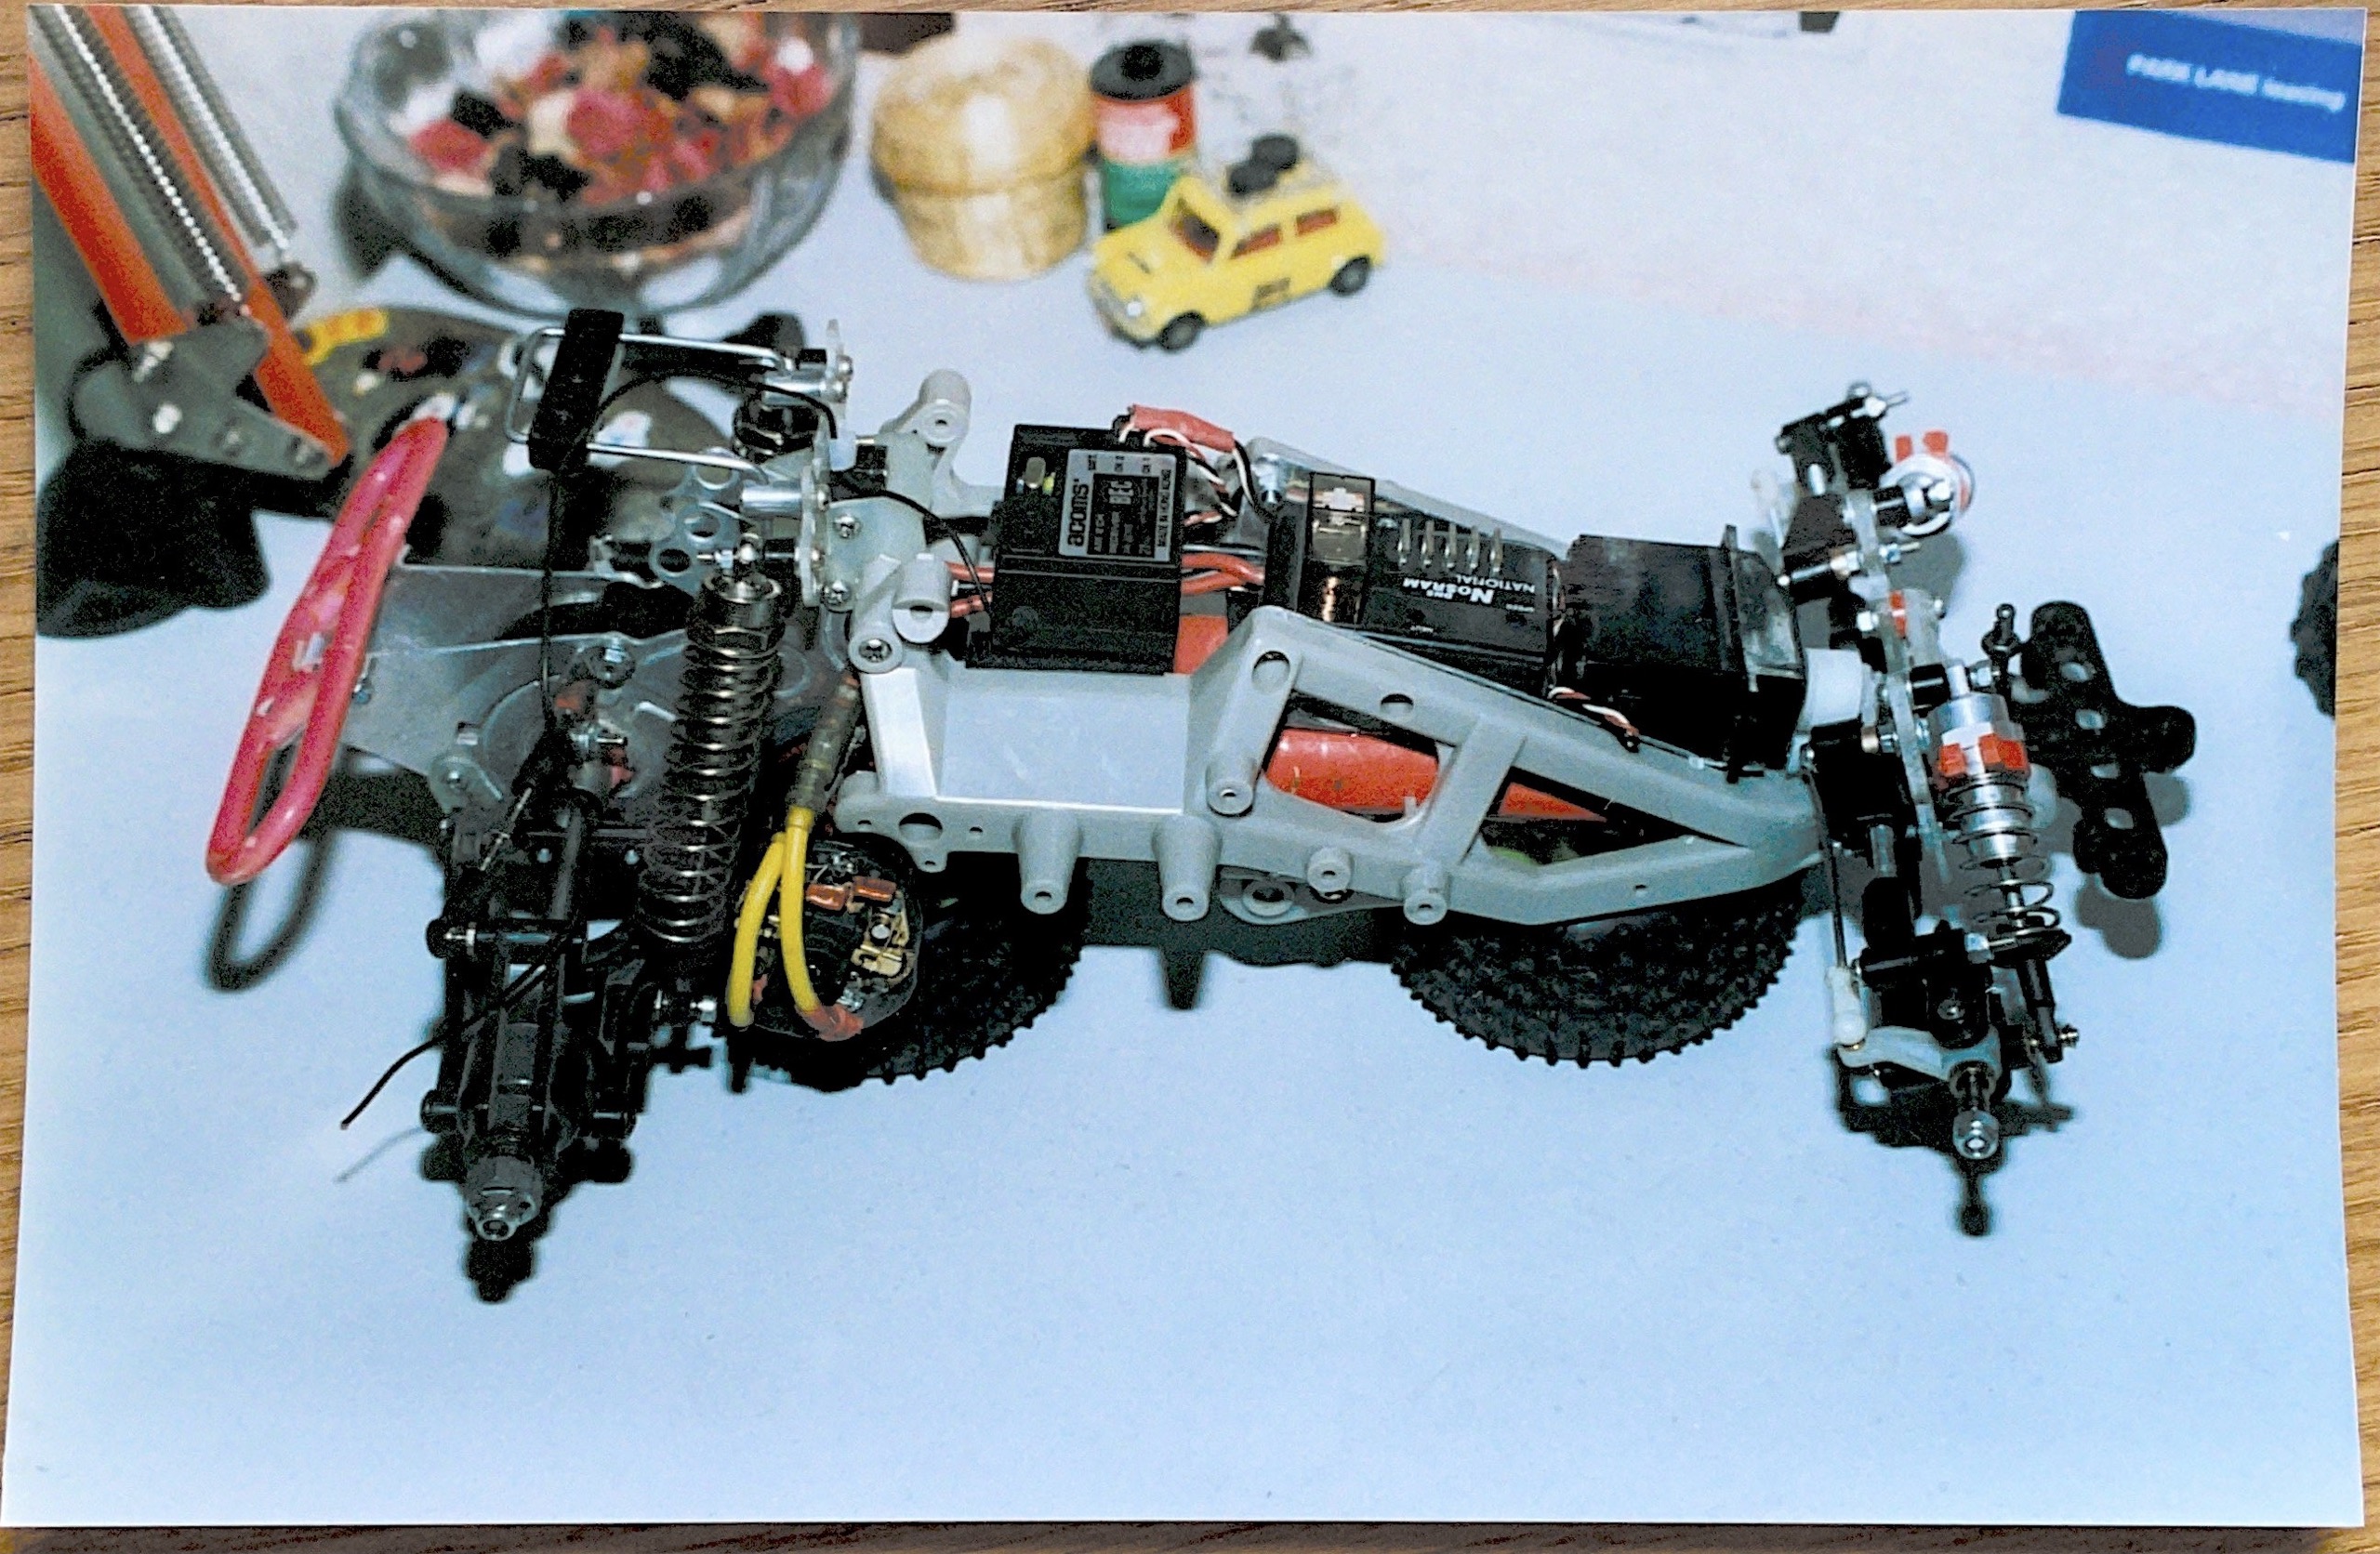
5. The ultimate #
The end game for me was to move the battery to be longitudinal, underneath a hinged aluminium tray that held the speed control and front steering servo. It meant disconnecting the steering and swinging open the tray when I needed to take the battery out, but it tidied the whole build. Along with some beefed up parts, it was a wide, stretched, low to the ground tarmac eater with a 17 double turn Demon motor - still recognisable as a Frog - although I chopped the body to fit closer to the chassis, giving it a meaner look.